
…and so, I shall never need to buy another sponge again.
Well, I may have to for some art protect…but as far as dishes and baths go – taken care of. It’s Lufthansa out there….lol luf-tons-a. 😀 Lets just say. . . it’s a very prolific plant!
This year I decided to grow luffa gourd, as I had seen them mentioned in my hammy down gardening book, ”All About Vegetables (South Edition).” It sounded too good to be true; a vegetable that could make a resilient, soft, yet abrasive, useful, compostable, sustainable product with like 27 uses – including a fun, natural chew toy for my sweet bunny. I was so very wrong.
Why you should consider growing luffas in your garden. . .
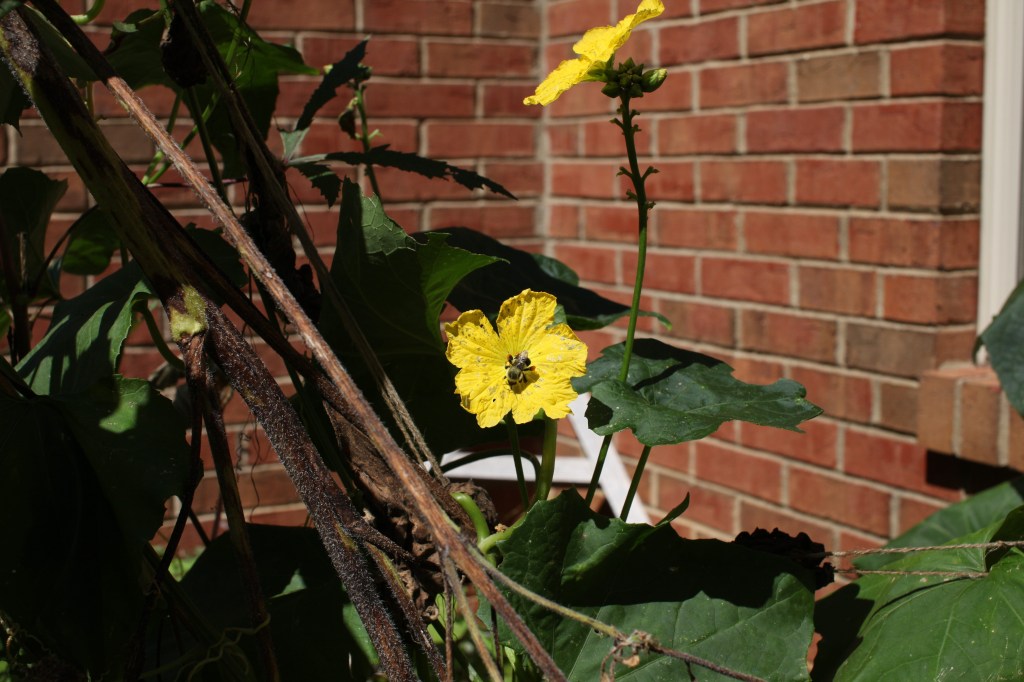
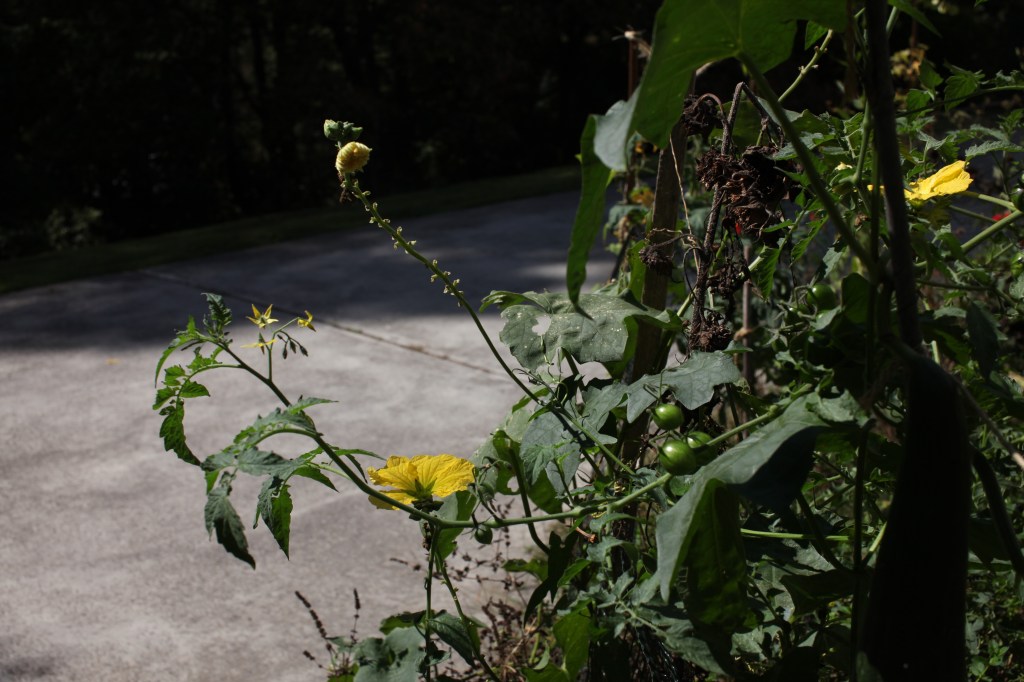
First off, the bees love this plant. So do the ants and the wasps, but the bumbles just can’t get enough of the beautiful yellow flowers this prolific vine produces. Drunken fascination I call it, fumbling and bumbling over each other, just smitten with the big petals and their lovely yellow pollen. I went out there this morning and there was a giant carpenter bee happily sleeping in the middle of a luffa bloom.

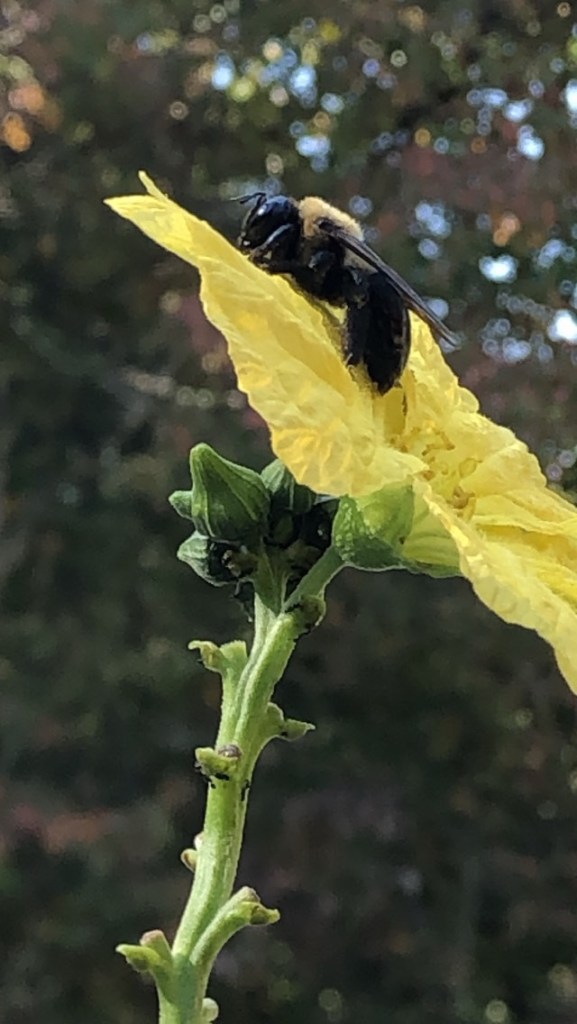
It is strange though; the wasps seem to prefer the bloom the gourds develop from, while the bees are always in the continually blooming buds- so at the bottom of the luffa while they were hanging and growing, there would be a little paper wasp just hanging out, hanging on. Like they are on a little tire swing or something, and they camp out for a good while.
The plant is gorgeous, a bold rich green with bright lemon yellow flowers, with the most interesting blossom shapes and blooming pattern. It’s almost the end of October and they are still out there pollinating every flower. I would say if you plant crops year round, this would be a good plant to have around just to attract the pollinators.

How to grow and dry luffas
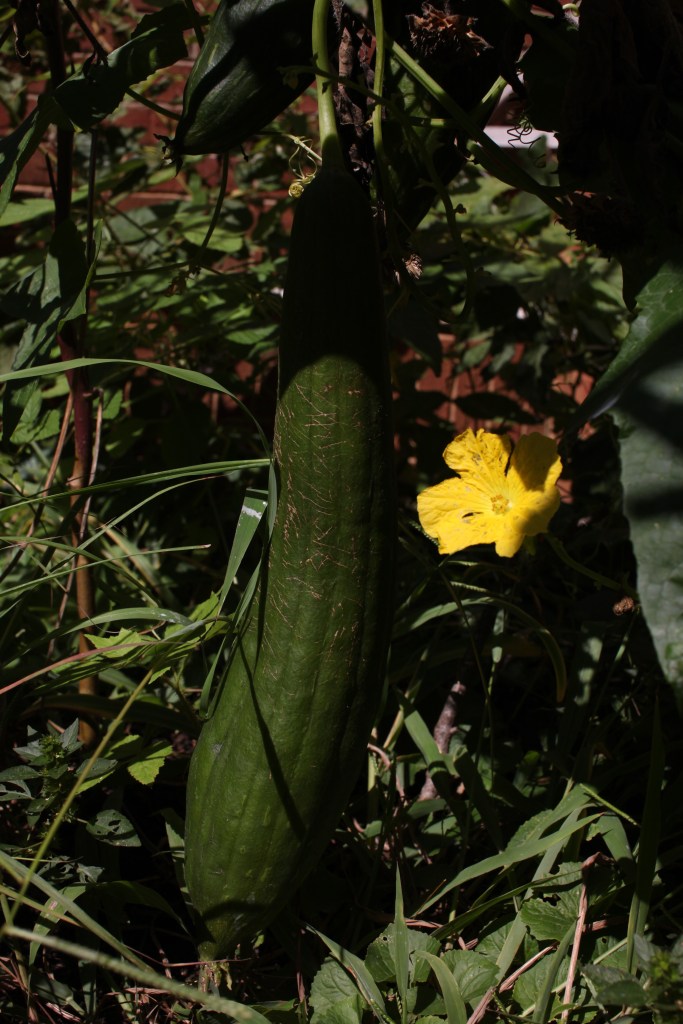
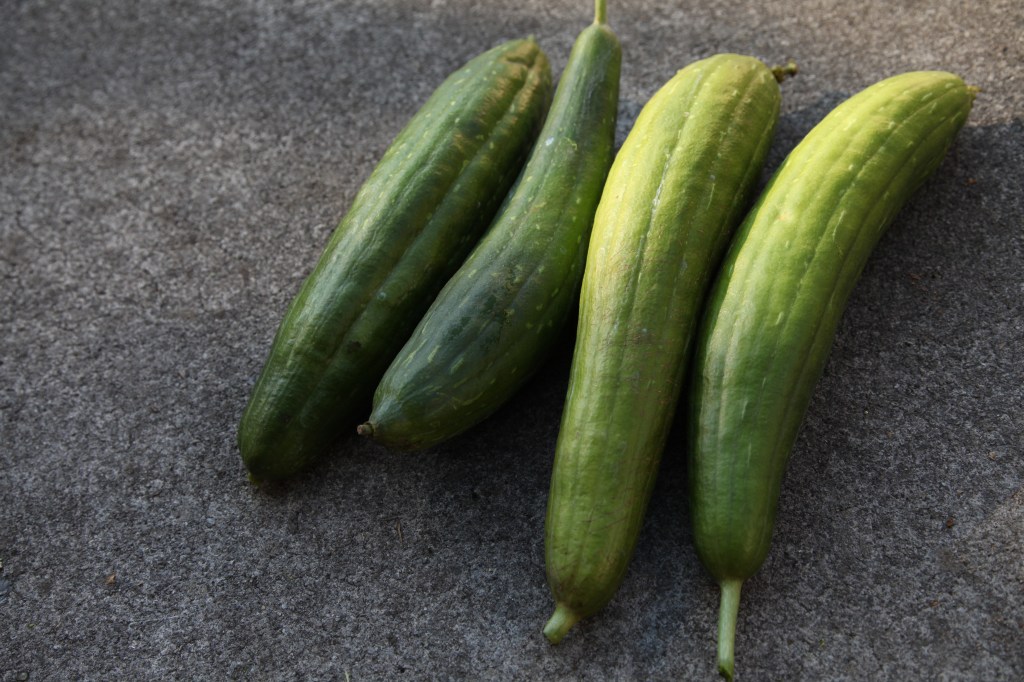
I planted 2 plants, and have about 20 gourds. They take about 120 days from seed to maturity. I planted them in mid-May, when I planted my cucumbers. I mulched them 2 times after transplanting. I used mushroom compost as well as earthworm castings.
You do not have to water these hardly at all once the vine starts exploding. The developing fruit don’t want to get too wet, that wold lead to the fruit rotting before it matures. This happened with a few gourds while we had some excessive rain spells mid summer.
Luckily for me, my growing season is warm enough through the early fall that I have been able to let them dry out on the vine. This leads to an easier acquisition of the desired sponge inside. There are a lot of videos out there about drying them if you have to, I am not going to be going into that as I did not do it and cannot speak to what would be the best way.

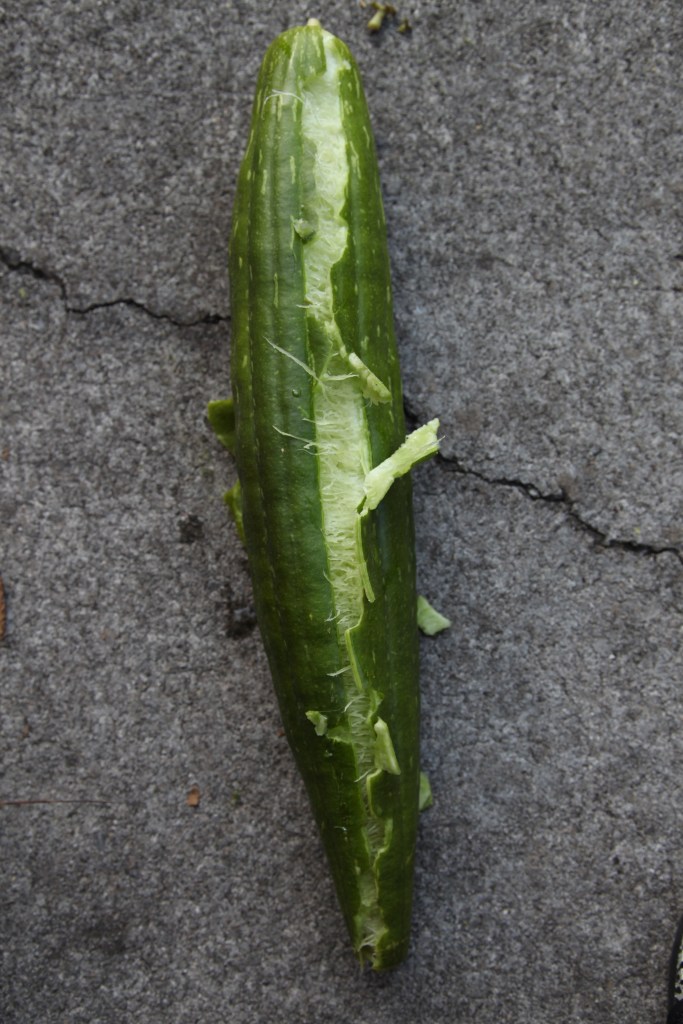
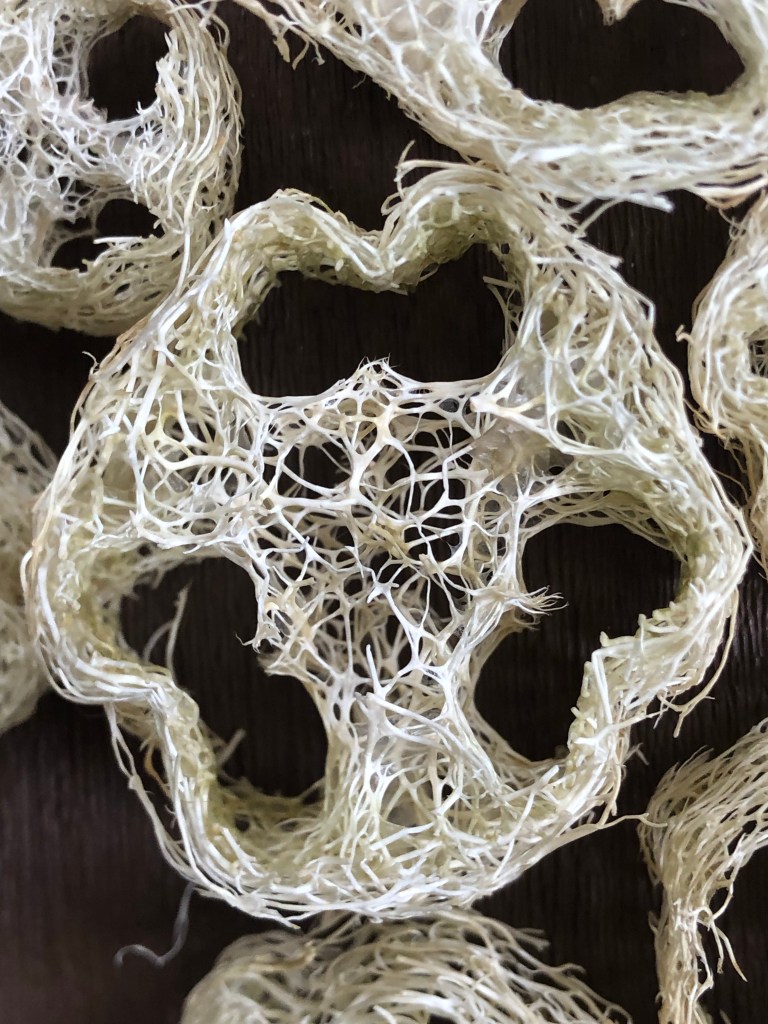
Once dried on the vine, you can cut the end, making it easy to being to peel the thick skin back. Where the grooves run down the side of the plant, there is a string, much like a green bean, that you can pull down and makes for a bit easier removal.


I am leaving most of them in tact, expect for maybe one or two. I want to trim them up nice to flatten and sew with a blanket stitch edge. These will be gifts for friends or to use for dishes. It’s always fun to make stuff, but the shape of the luffa with the inside actually makes for a perfect grip for a body sponge, so I am not going to be bothered to cut and sew all of these for the sake of making them look cute. I will say that doing this with different colored thread would be a good way to delineate which sponges are for what purpose; i.e. cleaning, bathing, dishes, etc. It also looks nice to give as gifts to family and friends!
A lot of people say to bleach these, but I think that seems very silly. Especially since, [i thought] the whole reason to grow these was to able to have a sustainable product free of any nonsense or chemicals. If anything, I would say after rinsing them off make a borax solution to rinse them in to kill any mold. The color they dry too is quite lovely, I don’t know why you’d want to bleach it out.
My second round of luffas didn’t dry out on the vine as much as my first, so some of the cellulose had not completely dried and subsequently grew mold pretty quick the day after I harvested them. I also was drying them inside in the house in a milk crate.

I thought this was going to be ideal, but it started to get cold here out of the blue the week I was harvesting, and so it also was cold and damp inside the house. Thus, the milk crate inside plus the bits of cellulose on the sponges turned to mold over night…
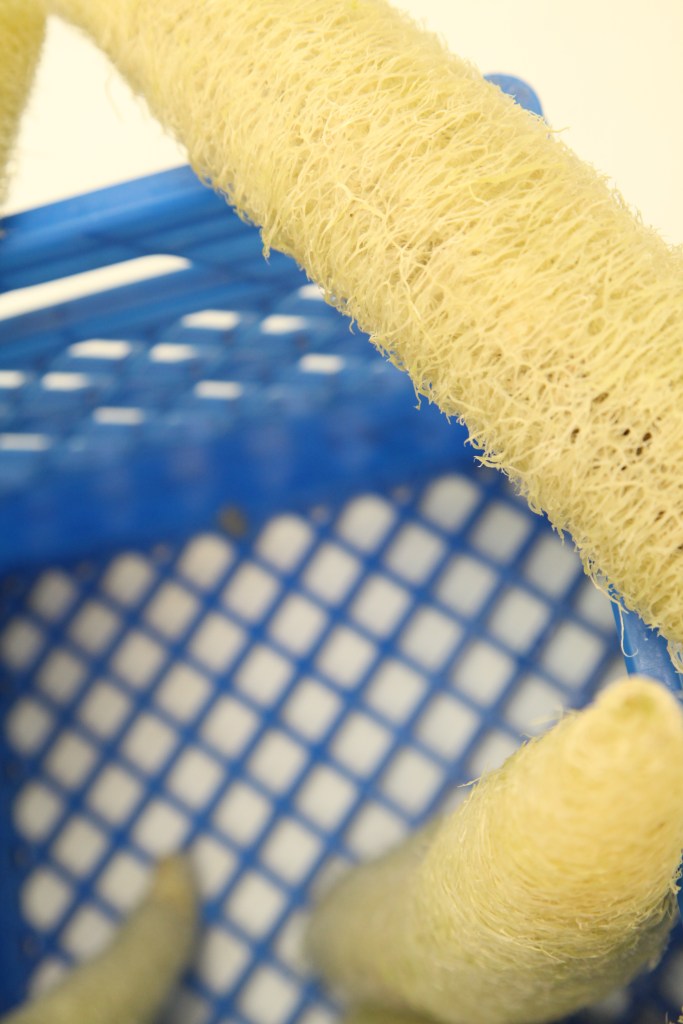
So, I then mixed up a 3 gallon bucket with 1 cup borax and scrubbed, rinsed, scrubbed and rinsed. I probably made 3 buckets of borax solution, switching it out once the water got funky. My hands were so soft after this process. Then, I let them dry on a milk crate outside since the sun was out. They dried pretty much that day then maybe one more over night on the drying rack. The next day the sponges were dry and mold free!


I cut the sponge almost in half, and then cut the smaller end off for a facial scrub sponge, which turned out to look like Totoro (My Neighbor Totoro, Miyazaki) or little bunnies ❤
These sponges soften and lighten with use. Currently have one I have been using for almost two months now and it is not decomposing or anything! It also does not smell moldy after its dry, I think washing them with the borax solution might have helped.
These are great for rabbits! They sell them at the pet stores, but they are usually dyed (even if it says dyed with natural ingredients, I don’t trust that) and subsequently I have not ever purchased them. I am so happy I grew these, because Frankie seems to like these organic chewy toys very much! Just male sure they are very clean and kept dry 🙂

Things to consider when growing luffa gourds . . .
• Luffa needs lots of space, to climb up and around

• Luffa will attract lots of pollinators

• Mulch or compost them 2-3 times while vining and producing

• Plant in secession; so as not have 40 to process at 1 time

• Earthworm castings

• The more they dry on the vine, the better

• Don’t waste any sponge too much cutting them to pieces

• Use the less desirable looking gourds for cleaning sponges

• Use borax to clean luffas, it will kill any mold

• Save the seeds for next year, or share them with wildlife
All that being said, I really hope this helped you decide to grow luffas, and how to make them work best for you! I at least hope you’ve enjoyed the photos of the bee friends and this amazing plant.
You can also eat the gourds when they are smaller. As well as the leaves! A lot of people steam them with rice and veggies inside and it looks pretty delicious, I have not tried this yet however….so I’m not gonna offer any recipes.
I have a bunch of film photos of the flowers earlier in the season, I’ll post them here once I get my summer slide film back.
Where to buy Luffa seeds
I have seen a few different looking luffas being grown on social media, but the varietal I’ve grown is from Baker Creek Seeds. If you are not familiar with them, I suggest you change that because they offer a lot of rare and hare to find seeds from overseas! They have a seed bank in Petaluma, CA that I used to frequent when I lived there, and their farm in is Missouri. Follow them on instagram for really helpful info and a look at what they have to offer. I have been having wonderful success with their seeds for 7 years now. Click here to visit their web page.
You can subscribe to my blog with your email on the bar to the right at the top, you do not need to have a WordPress account to sign up!
Shorter growing season?
Here is a link to a video from YouTube channel Mason Dixon Acres. She had to dry them in the oven since she lives up north with a shorter growing season. She very informative and does a great job of showing the process! Click here to go to watch her how to video!

